Elixir Essentials
We invite you to take a look at our massage menu and find what feels right for you. The benefits of regular massage are numerous. Best of all, you can relax and just say aaahhh!
The Elixir Massage
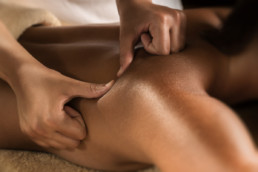
Based on traditional Swedish massage techniques developed nearly two centuries ago, the Elixir massage features firm, yet calming pressure that increases circulation, eases muscle tension and…
Corporate Chair Massage
Elevate your workplace wellness, conference experience, and event hospitality with Elixir Mind Body Massage's premier corporate chair massage services.
Couples Massage
Experience a luxurious aromatherapy massage for two performed by two different therapists in our Couple’s Suite. If you’re looking to get away for a special occasion or intimate rendezvous, this…
Infinity Chair Massage
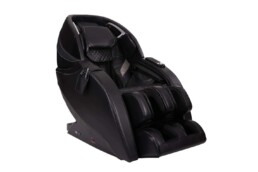
Based on traditional Swedish massage techniques developed nearly two centuries ago, the Elixir massage features firm, yet calming pressure that increases circulation, eases muscle tension and…
Releaf CBD Massage
Harness the healing power of hemp in this non-intoxicating massage.
Uniquely Elixir
Elixir's Specialty Massages were created to address specific issues and conditions that we saw guests coming in with regularly. Each uniquely Elixir protocol goes beyond the typical full body massage to give our guests exactly what they need most. Not sure what is right for you? Our concierge is happy to consult with you.
The Essential Balance
Harness the incredible healing powers of essential oils in this amazing treatment! Specific oils chosen for their ability to reduce stress and inflammation, detoxify and equalize the body are applied…
Prenatal Massage
Designed specifically for the Mother-To-Be, this massage is similar to a Swedish massage with a focus on relieving specific discomforts such as backaches, swelling, bloating and leg cramps. This…
Deep Heat Hot Stone Massage
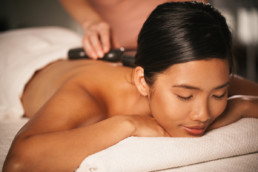
Heat therapy is combined with Arnica Oil and unique stone tools and techniques designed to promote better blood flow and circulation to provide effective relief for muscle pain. Therapists utilize a…
Romance Retreat for Couples
Take time for two in our Couple’s Suite. You’ll both be treated to a personalized full body Elixir Massage, featuring your individual selections of powerful Aromatherapy oils. Included is a Hot Stone…
The Chakra Massage
Available in February and March. Celebrate the season of love in a meaningful way with this deeply balancing service. Thoughtfully designed to cater to health in relationships, your Therapist will…
MassageEnhancements
Intensify and customize the therapeutic and relaxation benefits of your massage to suit your needs by choosing to add one or more of Elixir's Enhancements.
Specialty Massage Oils
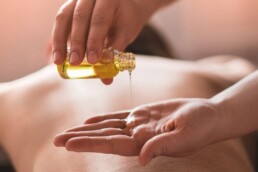
Adding warm oil to a massage not only enhances the relaxing quality of the massage, but it also aids in the healing process. Your Therapist will assist you in choosing from our quality oil offerings,…
Soft Cupping
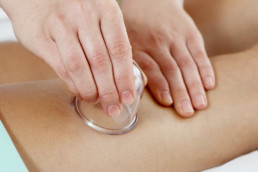
This enhancement blends massage with modified soft cupping techniques. Perfect for those who like a deeper relaxing massage. Cupping provides incredible benefits ranging from deep muscle pain relief,…
Reflexology for Your Hands & Feet
A great addition to your massage service, this treatment focuses on pressure points and energy zones in the hands and feet linked to corresponding organs and systems. This treatment is ideal for…
Dry Brushing
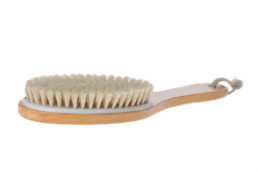
Dry Brushing is not only incredibly calming, it improves lymphatic flow for overall health, rejuvenation, recovery and detoxification. Utilized by refined European spas for over a century, this…
Hot Stone Enhancement
Melt muscle tension naturally with a Hot Stone Enhancement. In conjunction with classic stones, a unique ‘stamp’ stone tool allows your therapist to perform heated trigger point therapy. Hot Stone…
HyperVolt Enhancement
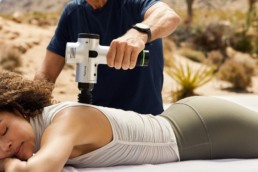
Percussion therapy concentrates targeted pulses of pressure into the muscle/tissue of the body, helping to relieve muscle pain, stiffness, and soreness, and increase range of motion.
CBD Massage Oil
Enhance your massage with CBD massage oil for blissful relaxation and relief from pain.
